Is vanilla Minecraft combat too boring for you? Fear not, Dynamic Sword Skills Mod 1.8.9/1.7.10 will have you parrying, dodging, and attempting to perform strategic devastating attacks on your enemies!
This mod is a standalone version providing ONLY the combat skills, for those who don’t want tons of Zelda-related items, mobs, dungeons and other things clogging up their games but still want to spice up combat. By default, each player will begin with a single Basic Sword skill orb; more orbs can be acquired by looting chests or by defeating mobs and even other players. Weapons with Looting give a much higher chance of an orb drop, and various settings can be configured in the configuration file.
![Dynamic-Sword-Skills-Mod.jpg]()
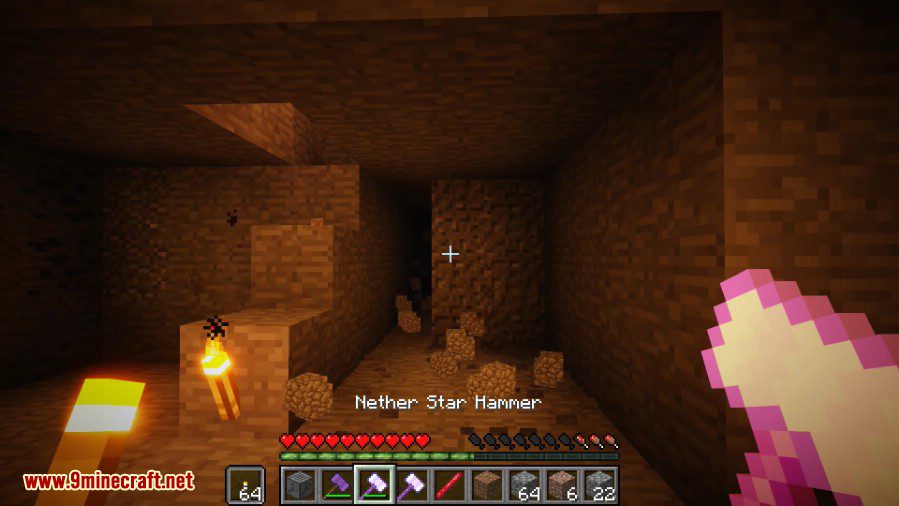
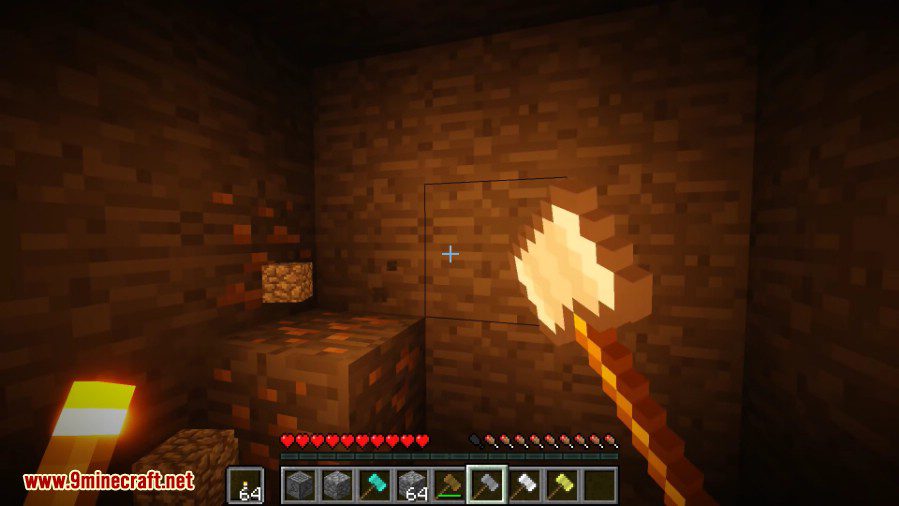
Screenshots:
Skill GUI
![Dynamic-Sword-Skills-2.jpg]()
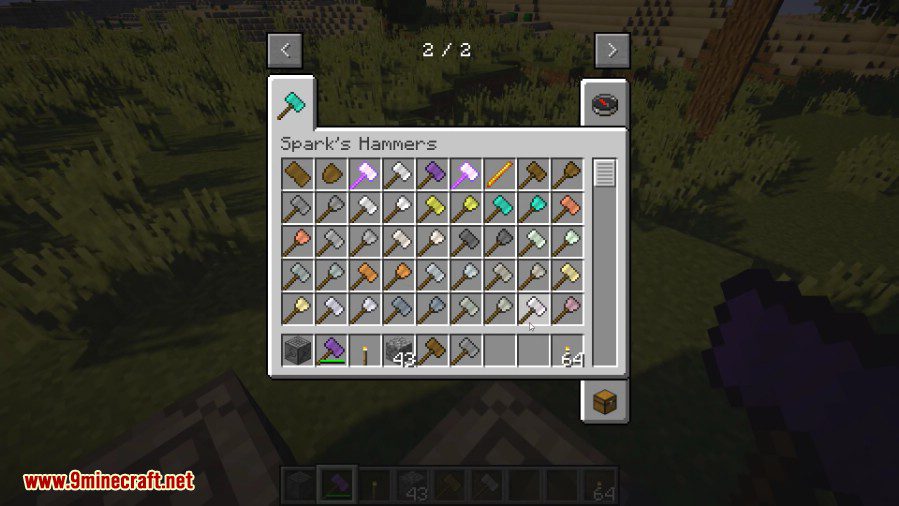
All currently available skill orbs
![Dynamic-Sword-Skills-Mod-1.png]()
![Dynamic Sword Skills Mod Screenshots 1]()
![Dynamic Sword Skills Mod Screenshots 2]()
![Dynamic Sword Skills Mod Screenshots 3]()
![Dynamic Sword Skills Mod Screenshots 4]()
![Dynamic Sword Skills Mod Screenshots 5]()
All currently available skill orbs
Sword Skills:
Basic Sword Technique
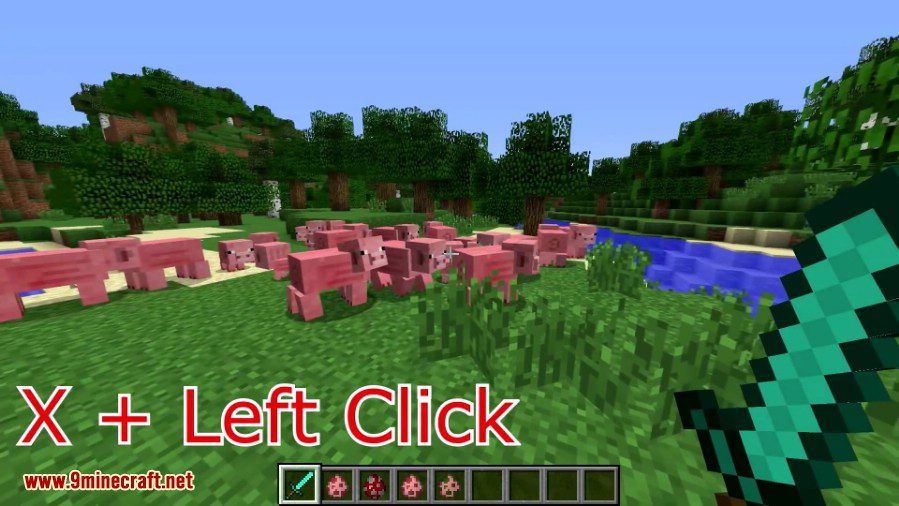
- Activation: Default key is X; must be looking at a target
- Effect: Locks view on to target, can no longer use mouse to free look
- Exhaustion: None
- Notes: While locked on to a target,
- Tab changes to the next target
- Rctrl may be used to block in addition to RMB
- Up arrow may be used in addition to LMB to perform a standard attack
- Deactivate by pressing X once more, or by killing everything in sight
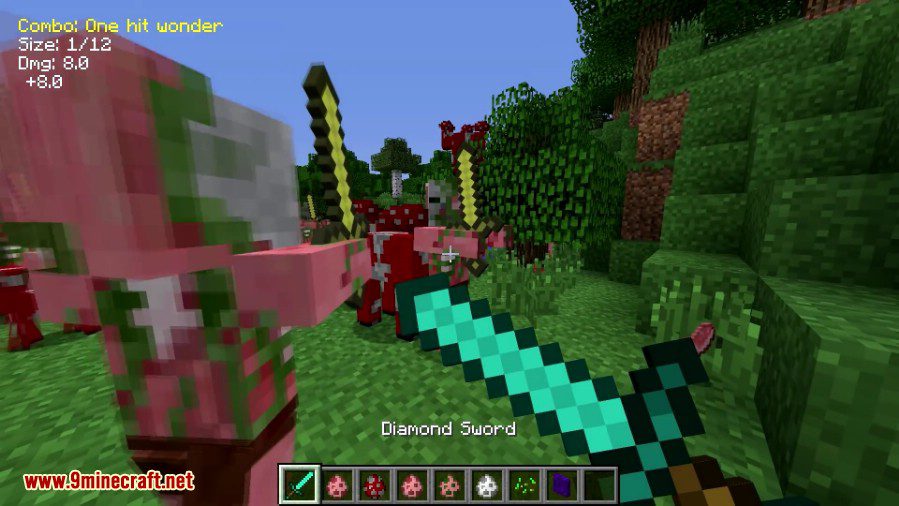
- Each attack contributes to your current Combo; as the Combo gets bigger, so does your damage!
Dash Attack
- Activation: Attack while blocking with a sword
- Effect: Charges towards target, inflicting minor damage and knocking the target back
- Exhaustion: Moderate (1.0F minus 0.1F per level)
- Damage: 4.0F + 0.5F per level plus knockback
- Notes:
- Standing too close to the target will not build up enough momentum to cause any damage
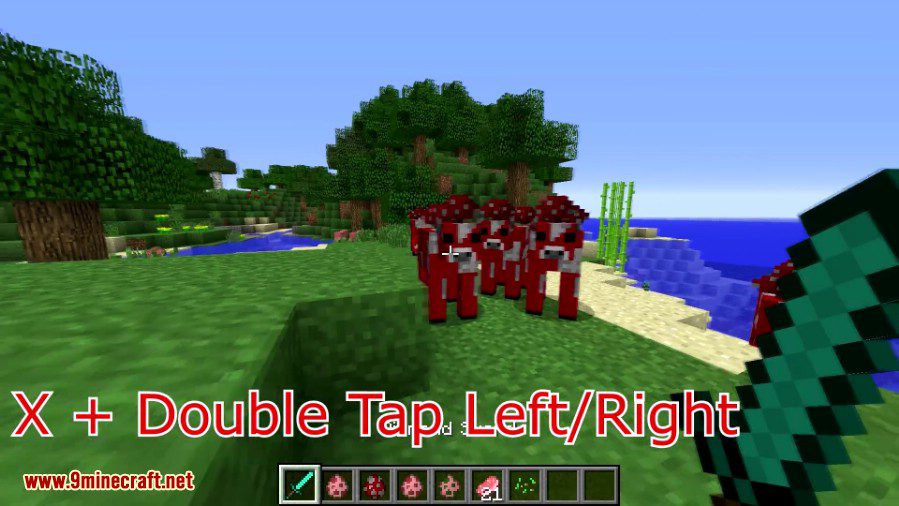
Dodge
- Activation: Double-tap left or right to dodge in that direction
- Effect: Quickly dodge out of the way of incoming attacks
- Exhaustion: Very Low (0.05F)
- Chance to Dodge: 0.1F per level plus a time bonus of up to 0.2F
- Notes:
- The amount of time during which the player is considered ‘dodging’ increases with skill level
- Can be configured to activate with a single tap only when using the arrow keys
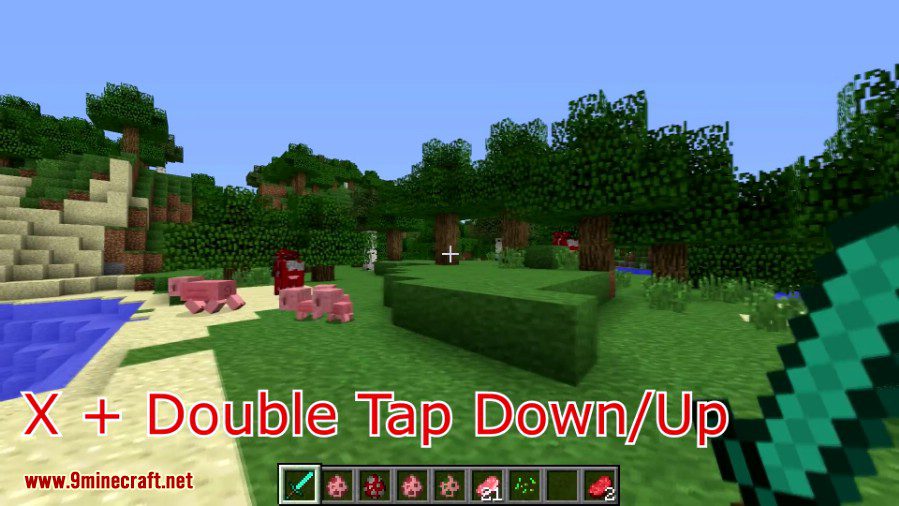
Parry
- Activation: Double-tap back / down
- Effect: Parries an incoming blow when being attacked; cannot parry unarmed attacks.
- Exhaustion: Low (0.3F minus 0.02F per level)
- Chance to Disarm: 0.1F per level plus a timing bonus of up to 0.2F
- Notes:
- For players of equal parry skill, chance to disarm is determined solely by timing
- Can be configured to activate with a single tap only when using the arrow keys
Armor Break
- Activation: Charge up by holding the attack key; the skill will trigger when the charge is sufficient
- Effect: This powerful blow ignores target’s armor value when inflicting damage
- Exhaustion: Moderate (1.2F minus 0.06F per level)
- Damage: Same as a normal attack, including enchantment bonuses, but ignoring the target’s armor
- Charge Time: 20 ticks minus one tick per level
Leaping Blow
- Activation: Jump while blocking
- Effect: Upon landing, unleashes a devastating AoE attack that damages all in its path in addition to temporarily causing weakness
- Exhaustion: High (2.0F minus 0.1F per level)
- Damage: Base sword damage, plus 1.0F per level, plus weakness for (50 + (10 * level)) ticks
- Notes:
- Range and area of effect increase with level.
- Damage caused by Leaping Blow contributes only to Combo damage, not size.
Mortal Draw
- Activation: While empty-handed and locked on, hold the block key and attack
- Effect: The art of drawing the sword, or Battoujutsu, is a risky but deadly move, capable of inflicting deadly wounds on unsuspecting opponents with a lightning-fast blade strike
- Exhaustion: Very High (3.0F minus 0.2F per level)
- Damage: Inflicts double damage when successful
- Duration: Window of attack opportunity is (level + 2) ticks
- Notes:
- The first sword found in the action bar will be used for the strike; plan accordingly
- There is a 1.5s cooldown between uses, representing re-sheathing of the sword
Spin Attack
- Activation: Press left then right or right then left and hold both until spin attack commences
- Effect: A devastating spinning attack hits every enemy in a 360 degree arc
- Range: Hits enemies within 3 blocks, plus 0.5 blocks per level
- Exhaustion: Very High (3.0F minus 0.2F per level)
- Notes: If using the arrow keys, only one key (left or right arrow key) needs to be held to activate, and the spin will be in that direction
Super Spin Attack
- Activation: Automatic while performing a regular Spin Attack and at full health; quickly tap attack to continue spinning
- Effect: Same as the regular spin attack, but you can spin up to one extra time per level
- Range: Adds an additional 0.5 blocks per level above and beyond regular Spin Attack range
- Exhaustion: Same as the spin attack, applied each spin
Sword Break
- Activation: Double-tap back while blocking
- Effect: A fierce block that is capable of destroying the opponent’s blade
- Exhaustion: High (2.0F minus 0.1F per level)
- Damage: Up to 90 durability damage to the opponent’s held item (15 * (level + 1))
- Duration: Time allowed before skill fails is 2 ticks at level 1, up to 8 ticks at max level
Notes:
- Only works when being attacked by an enemy holding an item
- Has no effect other than blocking the attack if the attacker’s held item can not be damaged
- Must release the block key in between uses
Basic Controls:
The default control settings are described below, and may be accessed and changed in the in-game control settings available from the options menu.
While using Basic Sword Technique to lock on to a target, certain keys become available for use in lieu of using the mouse, although the mouse may also be used and is, in fact, recommended.
In the game options menu under control settings for ‘Dynamic Sword Skills Keys’, you will find all of the key bindings used by DSS; DO NOT assign any of these to WASD or LMB / RMB – those are vanilla controls which may be used as alternates to some of the mod keys, provided that the config setting is set to allow skill activation via vanilla controls (which it is by default).
What this means is if vanilla controls are enabled, you can use either the DSS ‘Attack’ key [up arrow], OR the vanilla attack key [LMB] to perform an attack while locked on to a target, but assigning the LMB to be the DSS ‘Attack’ key would likely not give you the desired result.
Gamepad Users: you may want to assign the left and right arrow keys to buttons on your controller, otherwise you may not be able to activate Spin Attack.
Key Effect
x Activate or deactivate Basic Sword Technique’s targeting system
Tab Switches targeting to the next available target
. (period) Toggle auto-targeting: when on, next available opponent will automatically be targeted when the current target is no longer valid; press while sneaking to toggle player-targeting.
v Toggles the combo HUD on/off
p Opens or closes the Skill Book (no item required)
Arrow Keys (only usable while locked on to a target)
Up Interchangeable with the ‘attack’ key (LMB by default)
Down Interchangeable with the ‘back’ key (‘s’ by default)
Left Interchangeable with the ‘left’ key (‘a’ by default)
Right Interchangeable with the ‘right’ key (‘d’ by default)
RCtrl Interchangeable with the ‘use item’ key (RMB by default)
Note that using the arrow keys is the only way possible to use certain skills with a single keystroke – using WASD always requires a ‘double-tap’, i.e. tapping the same key twice in quick succession.
Note also that there is no equivalent of ‘forward’ when using the arrow keys, so the vanilla keybinding (‘w’ by default) must always be used when called for in a skill’s activation requirements.
Mod Showcases:
Requires:
Minecraft Forge
How to install:
- Make sure you have already installed Minecraft Forge.
- Locate the minecraft application folder.
- On windows open Run from the start menu, type %appdata%\.minecraft\ and click Run.
- On mac open finder, hold down ALT and click Go then Library in the top menu bar. Open the folder Application Support and look for Minecraft.
- Place the mod you have just downloaded (.jar file) into the Mods folder.
- When you launch Minecraft and click the mods button you should now see the mod is installed.
Dynamic Sword Skills Mod 1.8.9/1.7.10 Download Links:
For Minecraft 1.6.4
Download from Server 1 – Download from Server 2
For Minecraft 1.7.2
Download from Server 1 – Download from Server 2
For Minecraft 1.7.10
Download from Server 1 – Download from Server 2
For Minecraft 1.8.0
Download from Server 1 – Download from Server 2
For Minecraft 1.8.9
Download from Server 1 – Download from Server 2
The post Dynamic Sword Skills Mod 1.8.9/1.7.10 appeared first on 9Minecraft | Minecraft Mod.