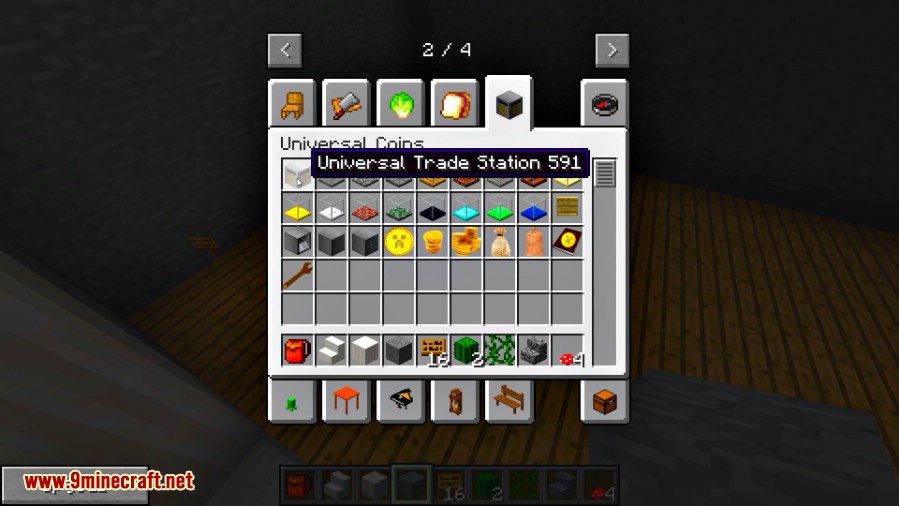
Universal Coins Mod 1.10.2/1.7.10 allows you to trade almost any item using coins. The coins come in five values: the Coin (value 1), the Coin Stack (value 9), the Large Coin Stack (value 81), the Small Coin Bag (value 729), and the Coin Bag (value 6561). Obviously, 9 of a lower tier will get you 1 of the higher tier; also 1 of a higher tier will get you 9 of the lower tier. The trading is done at an Universal Trade Station. The only way to get coins is by selling an item. Most vanilla items have a predefined price and prices can be changed in the pricelist files.
![Universal Coins Mod]()
Features:
Blocks
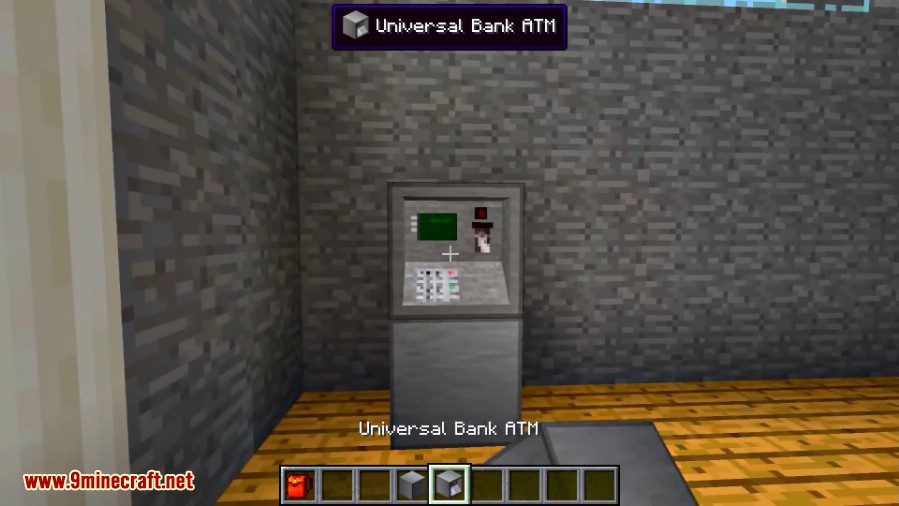
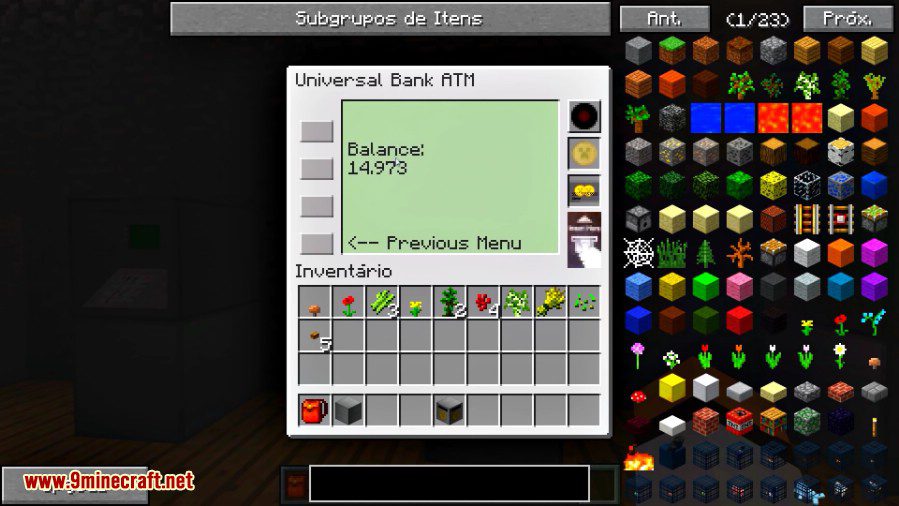
ATM – Used for managing cards and accounts. A player can have two accounts. One will display the player’s name on the card and use the player’s UID as the identifier, the other can be customized to any name wanted. The account can be transferred to a new one if cards are stolen. The ATM has been updated to use an iris scanner in the top right of the GUI to identify the player if card is lost or stolen(It actually just uses the player’s UID to look up the account). Cards are used only as an identifier. The actual account holding coins is saved in the world data. This means that if you throw your card in lava, you won’t be throwing away your coins. You will however, have to go back to an ATM and get a new card.
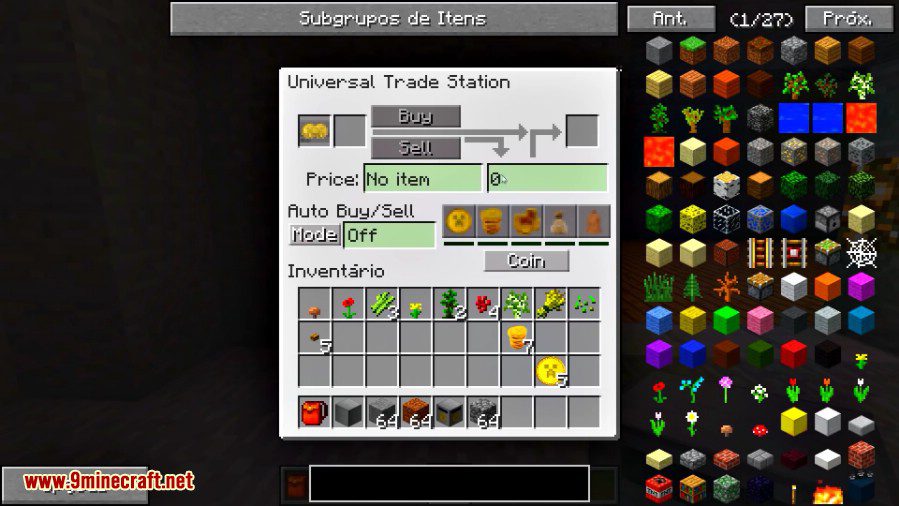
Trade Station – The Trade Station allows a player to buy or sell most blocks and items with coins. Selling a block or item is done by sticking it in the upper left slot. The Buy and Sell buttons will activate if the item has a price set in the config files. By default, clicking sell will sell one item. Shift+Click on the sell button will sell the entire stack of the item. Selling damaged armor, tools, or weapons will return a portion of the item price displayed. Enchanted items cannot be sold. Buying a block or item is similar. Just click, or shift+click the buy button to get one or one stack respectively. If an enchanted item is placed in the input slot, buying a new item will return a new item without enchantments.
Ender Safe – This block was mainly added for the purpose of automation. Coins can be pumped into this block and will be deposited directly to a player’s primary account. It has a GUI that can be accessed only by the block owner. The block owner is the player who places the block down in the world.
Vending Block – The Vending Block allows a player to buy or sell items of any kind with other players. The GUI that opens when the block is activated depends on whether the player is the block owner or not. Non-owners will get a GUI that can be used to buy or sell stuff depending on how the owner set up the block. A sign must be placed on the block below the vending block to display whether the block is buying or selling, what is being bought or sold, the price, how many if more than one, and any errors such as “out of stock”, “out of coins”, “inventory full”.
Vending Frame – The Vending Frame functions exactly the same as the Vending Block. Only the appearance of this block differs. Items are not rotatable like they are in item frames. When crafting, the vending frame will keep the plank type of the plank it is crafted with. A sign is required above or below the frame to display frame details.
Advanced Signs – The signs were added as a means to display details of the items for sale in vending blocks and frames. When placed on a block directly below a vending block, the sign will be updated with the name and price of the item for sale. Also, when placed above or below a vending frame on a wall they will update with the info. When placed on a chest, the sign will update with the quantity of the first four types of items or blocks found in the chest. The signs support color codes by prefixing the line being edited with an ampersand(&) and a hexadecimal digit(0-f). Entries of up to 40 characters are supported and the sign will scroll the line while displaying 15 characters of the entry. Signs have block break protection. Signs can be edited at any time by the player that places the sign by right clicking.
Redstone Signal Generator – This block generates a redstone signal for a predetermined amount of time. Both the cost and duration are configurable by the block owner. Players can activate the block by right clicking. The block will search the player’s inventory for coins. Players must have enough coins to pay the fee to activate. Cards not accepted.
Slot Machine – A coin operated slot machine. One coin equals one spin. Prizes for three or four of a kind.
Power Base – This block can be used to sell RF to “the power company” at the wholesale rate. The wholesale rate can be changed via the config file. Power is sold in 10 kRF (10,000 RF) chunks. The default rate is 12 coins per chunk. All power sold goes into a server wide queue of energy.
Power Receiver = This block is used to purchase RF from the server power queue at retail rate. The retail rate can be changed via the config file. Power is bought in 10 kRF (10,000 RF) chunks. The default rate is 15 coins per chunk. You cannot buy more power than is sold to “the company”.
Items
Universal Card – This is the basic card for accessing a player’s account. Right clicking will display the account balance.
Ender Card – The Ender Card is an upgraded card that has a few special properties. It will automagically deposit any coins a player picks up if held anywhere in a player’s inventory. Right clicking will deposit any coins held in inventory and display the account balance. Another feature is that this card allows coin free use of Vending Blocks, Vending Frames, and Trade Stations. Coins are debited and credited directly to the account.
Coins – There are 5 tiers of coins. Each tier is equal to 9 of the lower, so 9 coins equals one coin stack. Coins can be earned by selling stuff in a Trade Station, from mob drops, or from treasure in dungeons and abandoned mineshafts. All two legged mobs have a chance of dropping coins. Endermen will drop coin stacks instead of coins.
Vendor Wrench – This is a special wrench for admins or OPs. It is not craftable. Opening the vending block or frame GUI with this wrench by right clicking. The wrench GUI allows a player to change owners or enable or disable the infinite sell mode. With the infinite mode enabled, inventory is not used. The vending block will still collect the buyer’s coins unless this is disabled in the main config file.
Remote Storage Linking Card – This card will link a vending block or frame to a remote chest. Shift click a chest to store its location, then shift click the vending block or frame to link the inventory. Multiple vending blocks or frames can link to a single chest.
Commands
/balance – This command displays coin balance in inventory. Also, if you have a Universal Card or Ender Card it will display those account balances too.
/pay (alias: send) – This command will send coins from your inventory to another player’s inventory. It will only work if the other player is online. If the receiving player is short of inventory space, coins will be returned.
/rebalance – This command will take all the coins in your inventory and consolidate them into the largest coin types possible. Most of the time, this saves inventory space.
/givecoins – This command is an op command that will give a player a specified amount of coins.
/universalcoins (alias: uc) – This command is an op command for managing item prices. It allows for changing, saving, or reloading prices without rebooting the server.
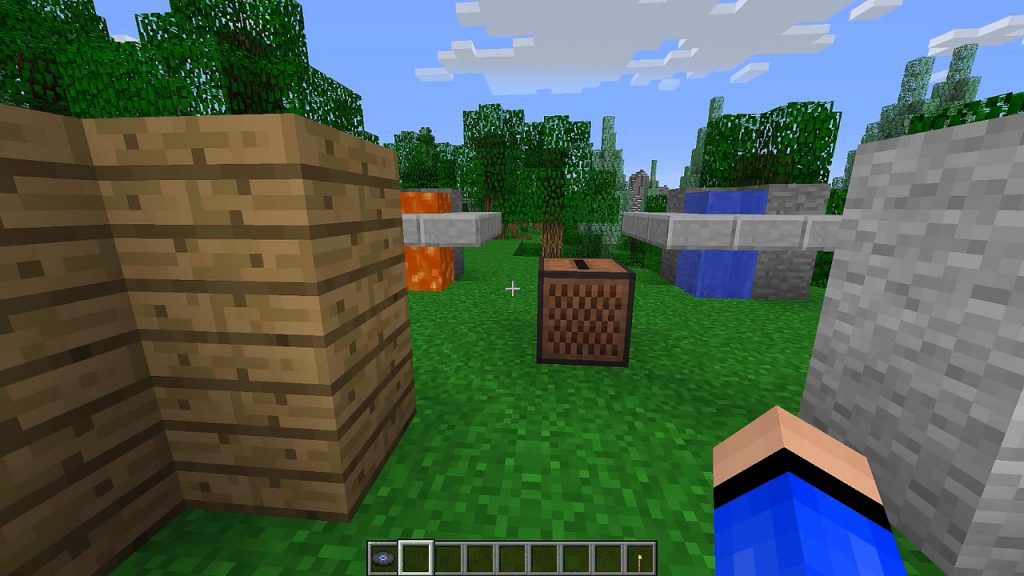
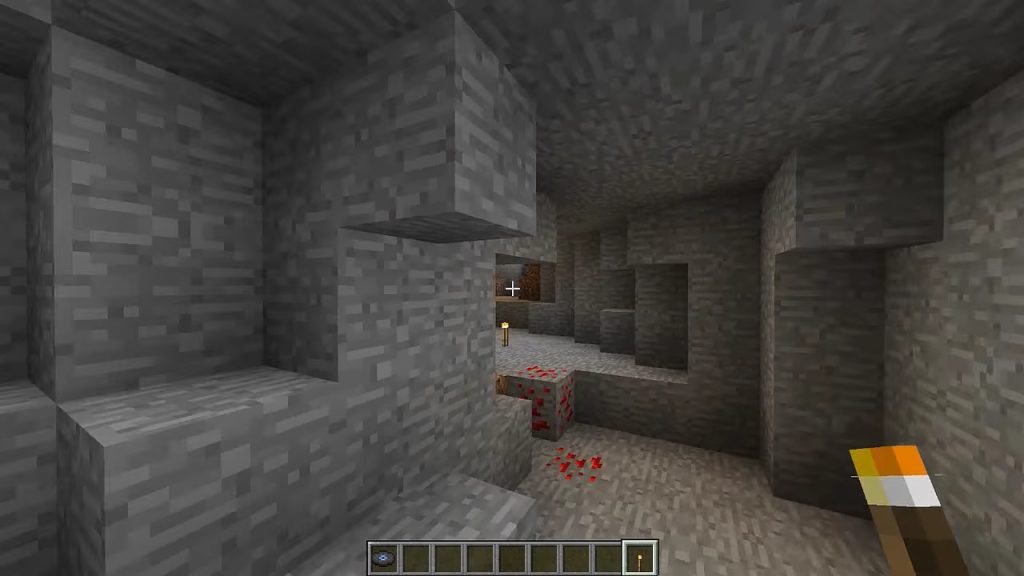
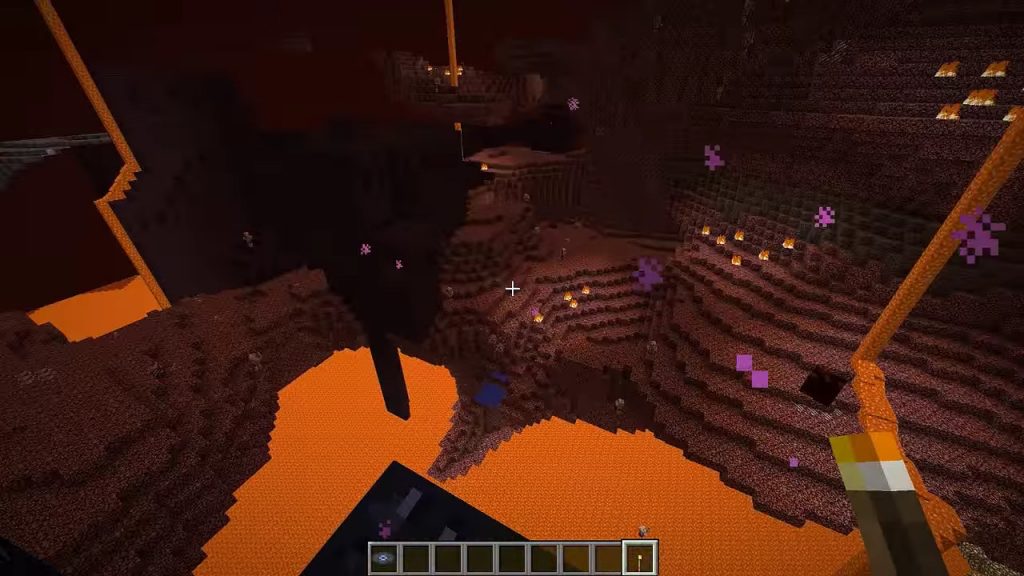
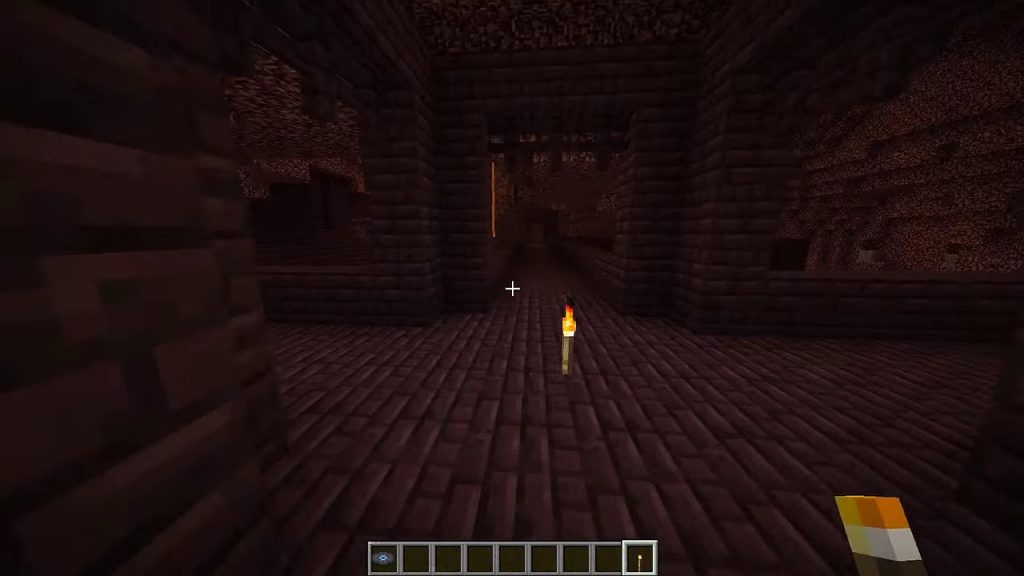
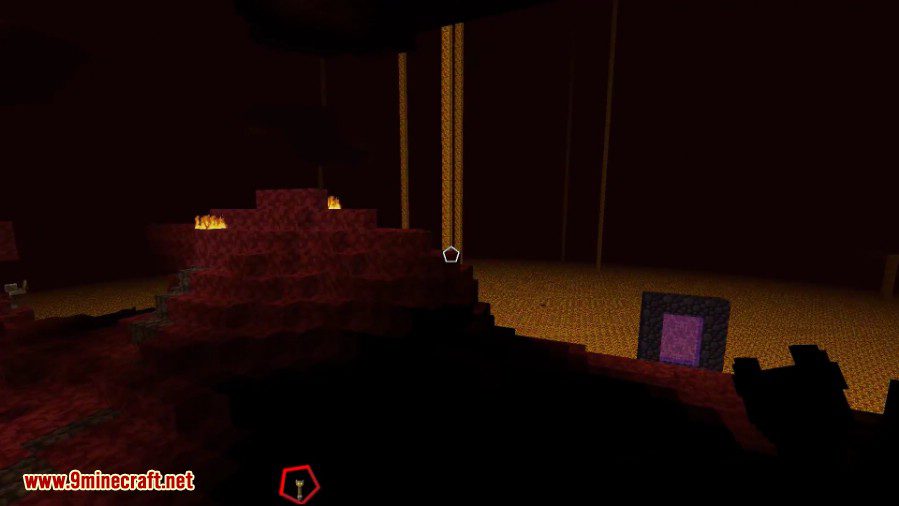
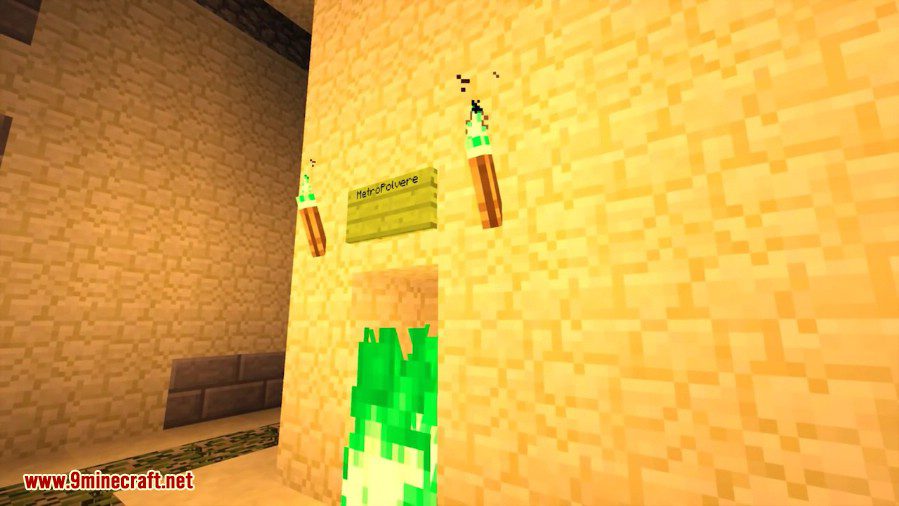
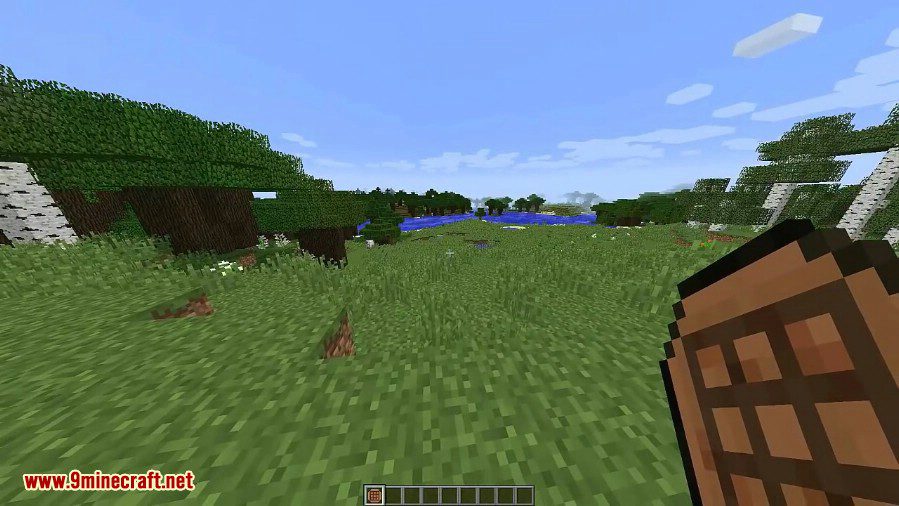
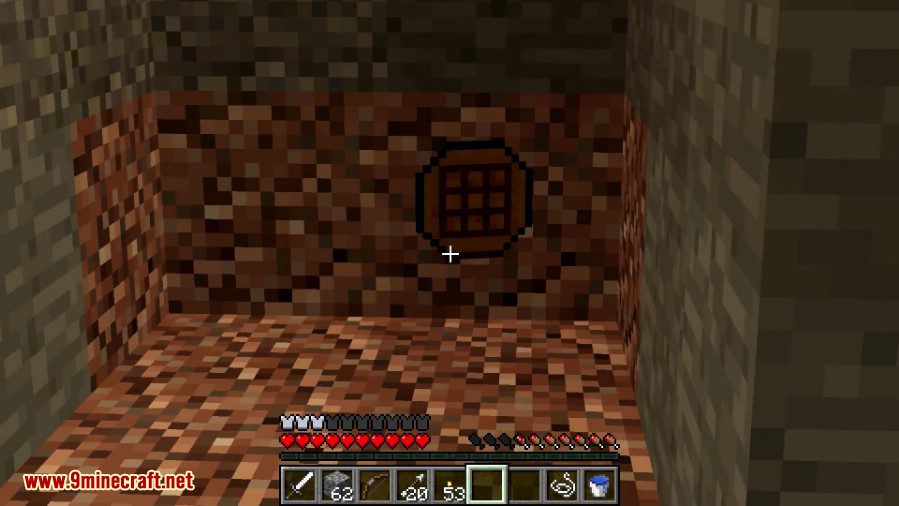
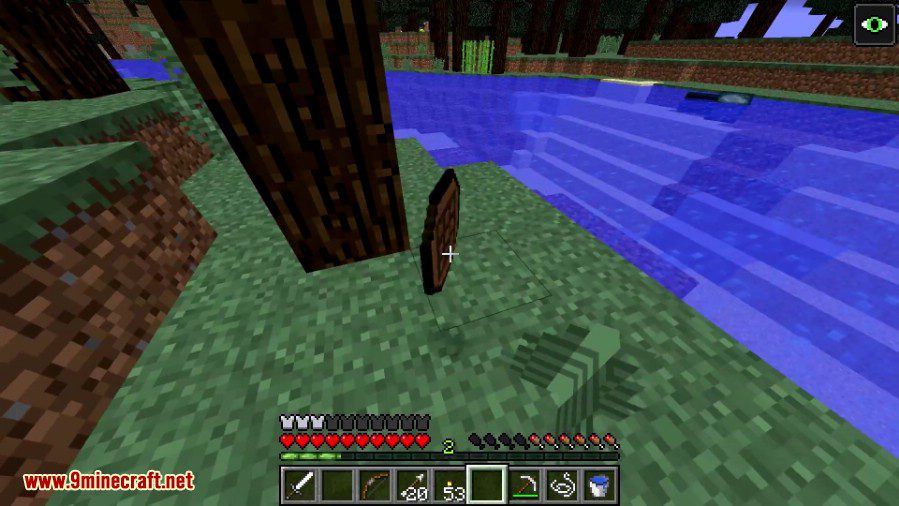
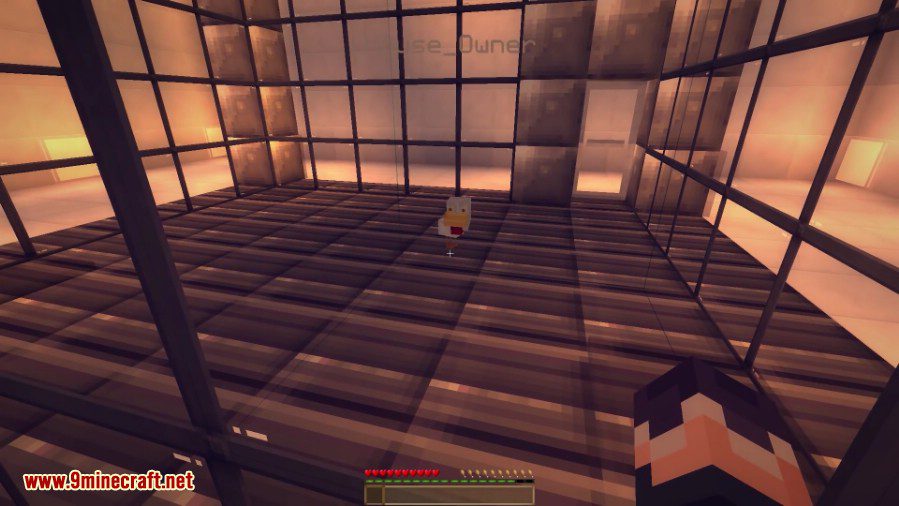
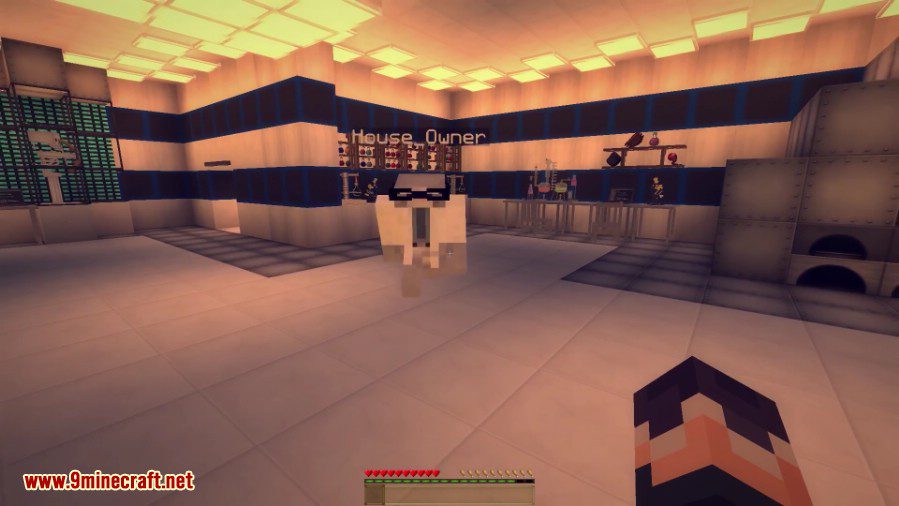
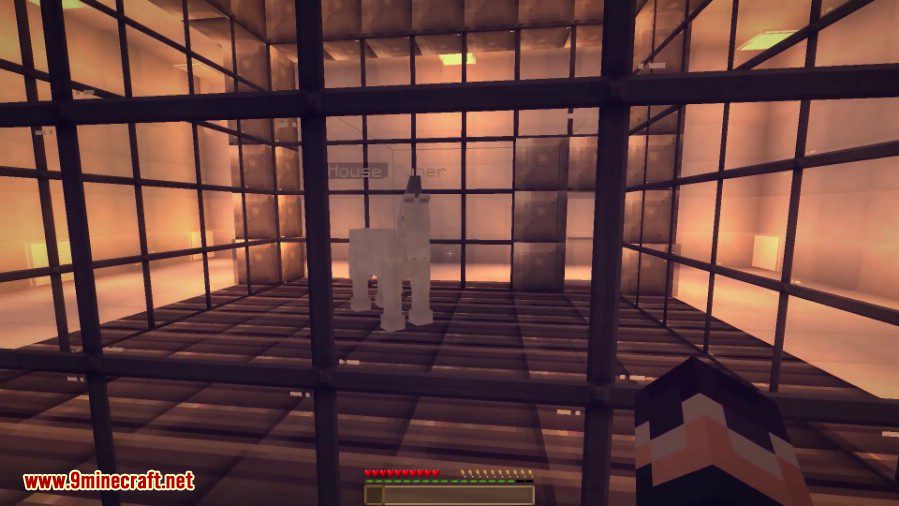
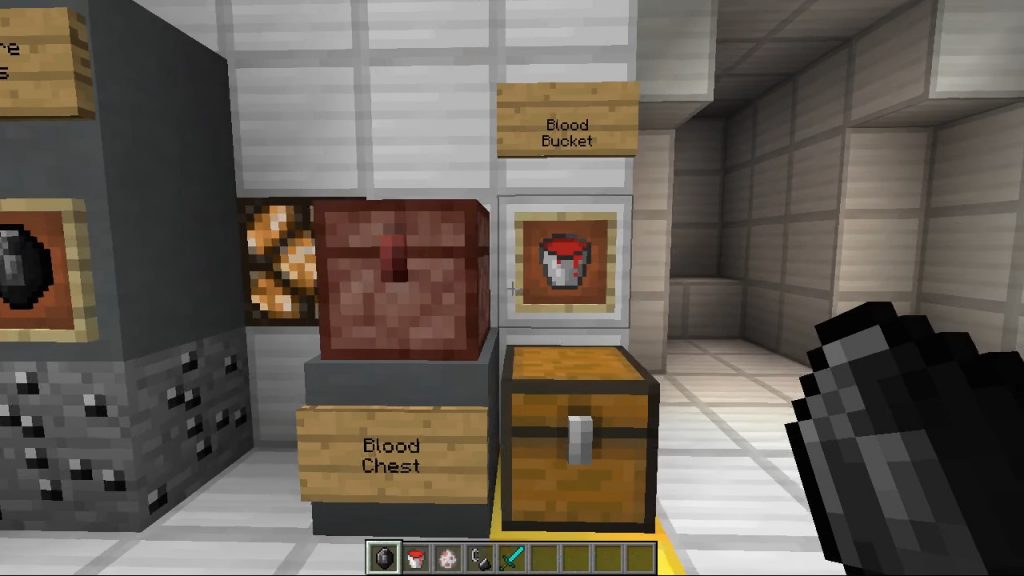
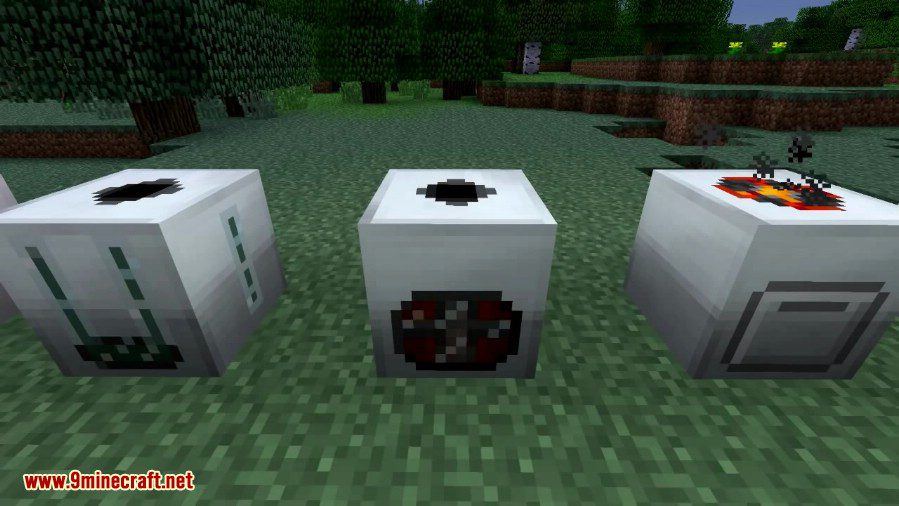
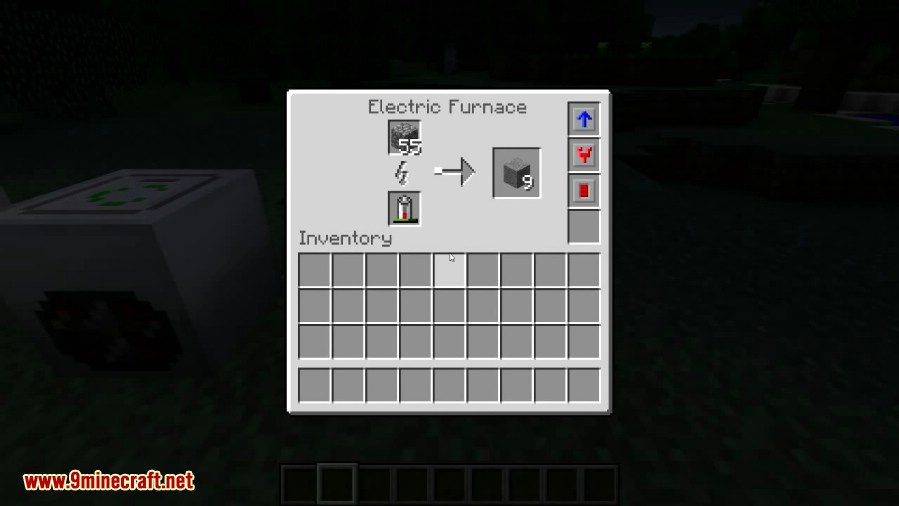
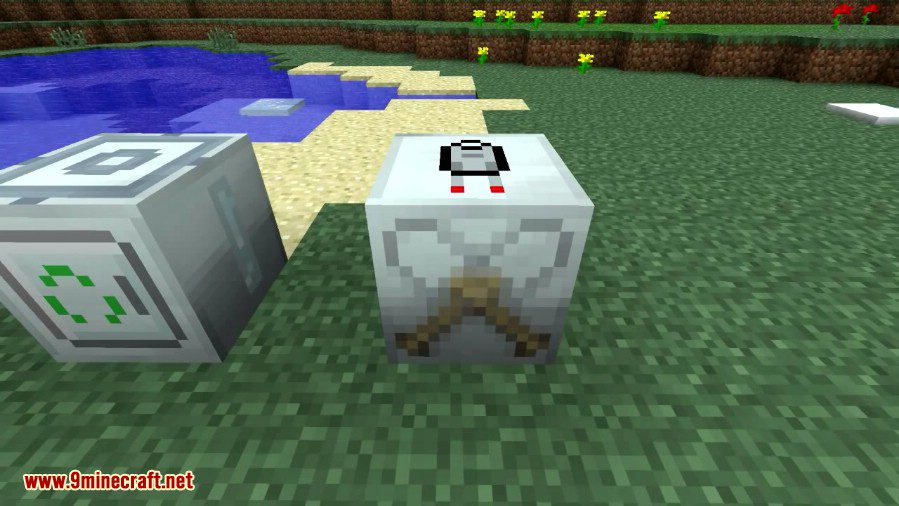
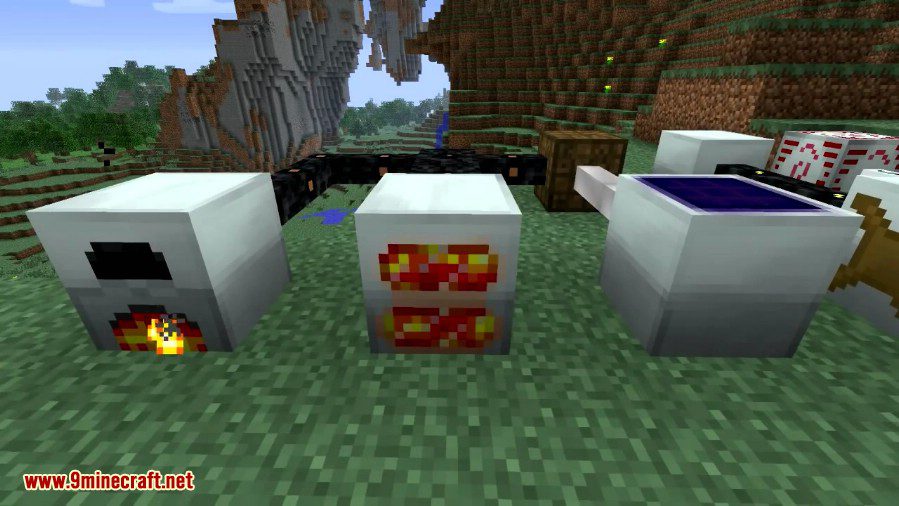
Screenshots:
![Universal Coins Mod Screenshots 1]()
![Universal Coins Mod Screenshots 2]()
![Universal Coins Mod Screenshots 3]()
![Universal Coins Mod Screenshots 4]()
![Universal Coins Mod Screenshots 5]()
![Universal Coins Mod Screenshots 6]()
![Universal Coins Mod Screenshots 7]()
Mod Tutorial:
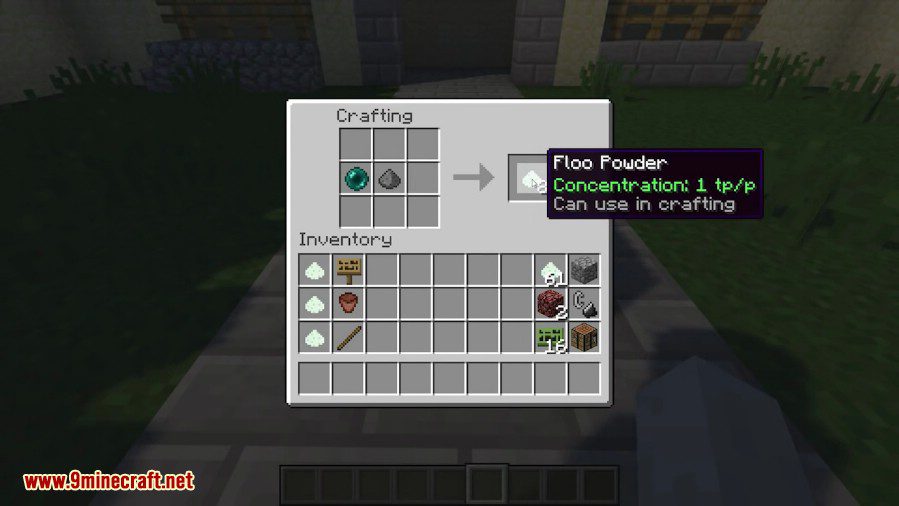
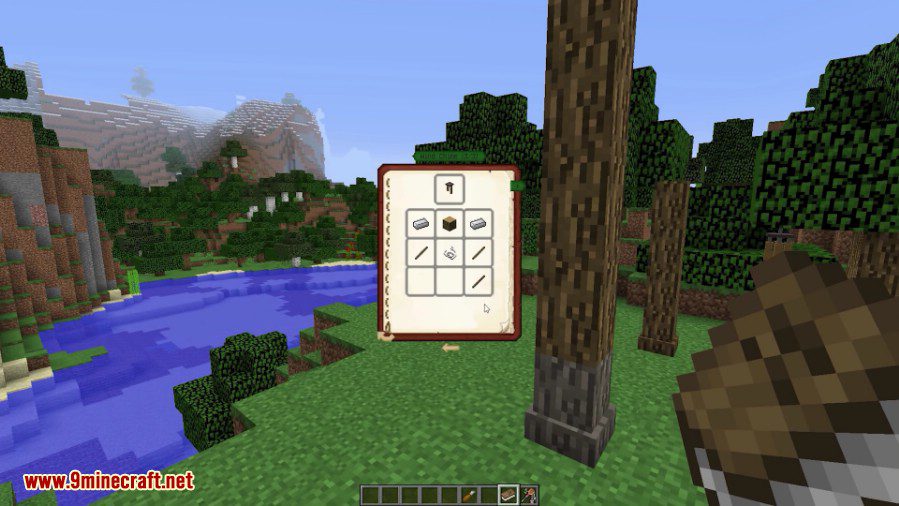
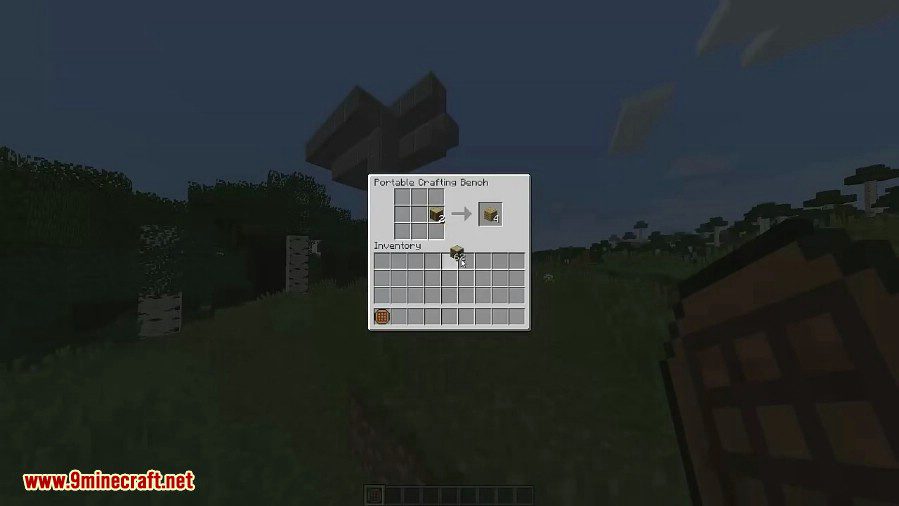
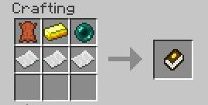
The first step you will need to craft the selling catalog. This item does nothing by itself, but is required to craft the trading station. The recipe is as follows:
![Universal Coins Mod Tutorial 1]()
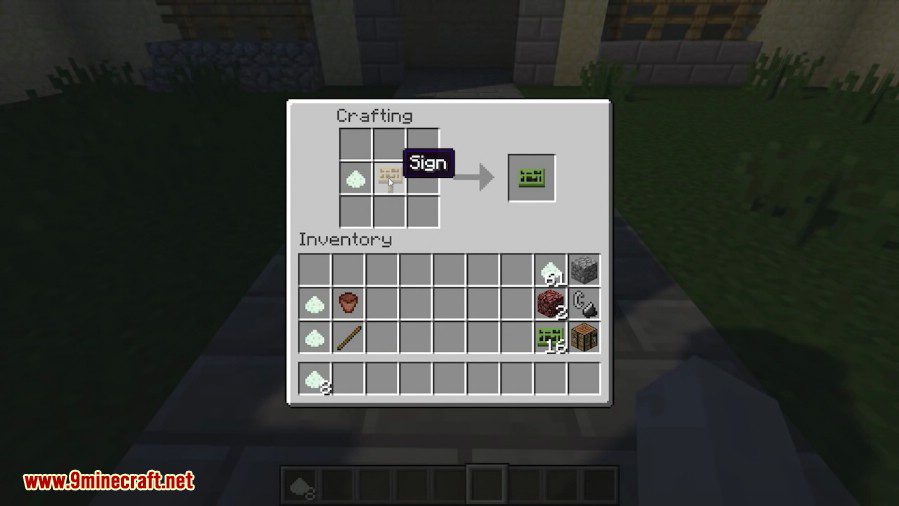
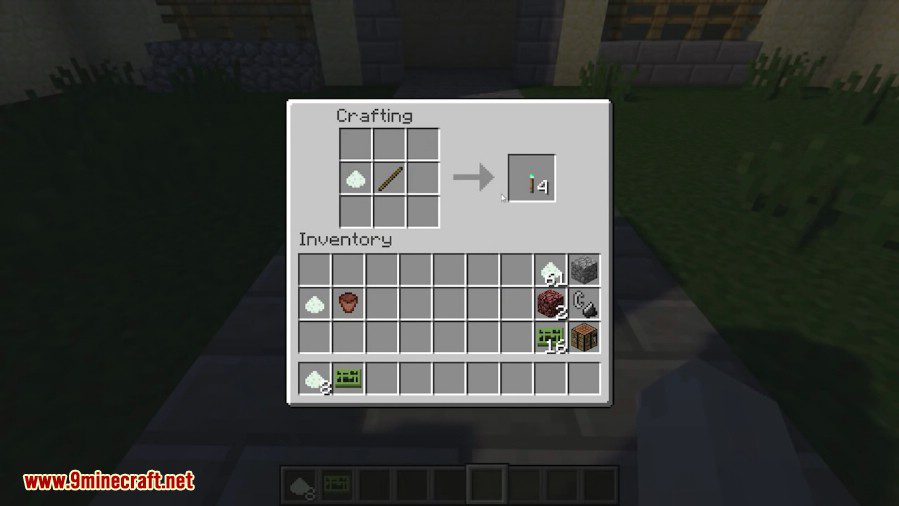
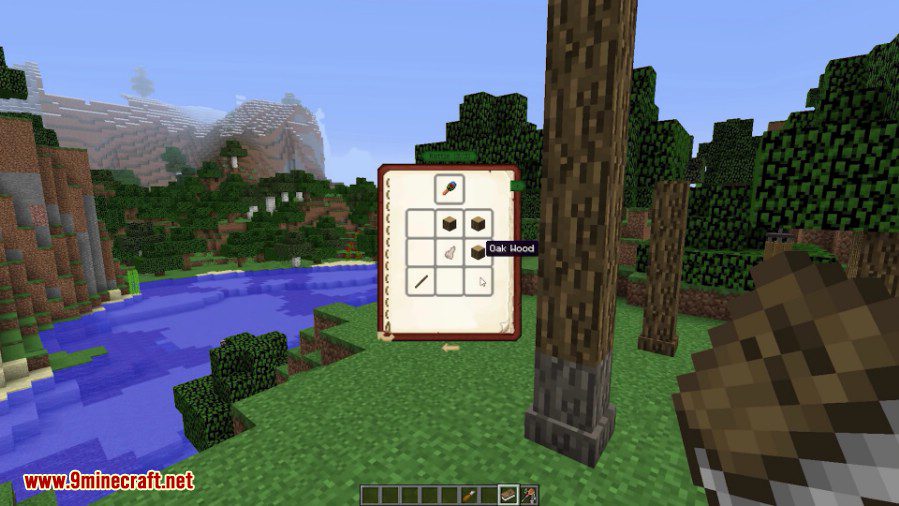
You will then craft the Universal Coins Trading Station with this recipe:
![Universal Coins Mod Tutorial 2]()
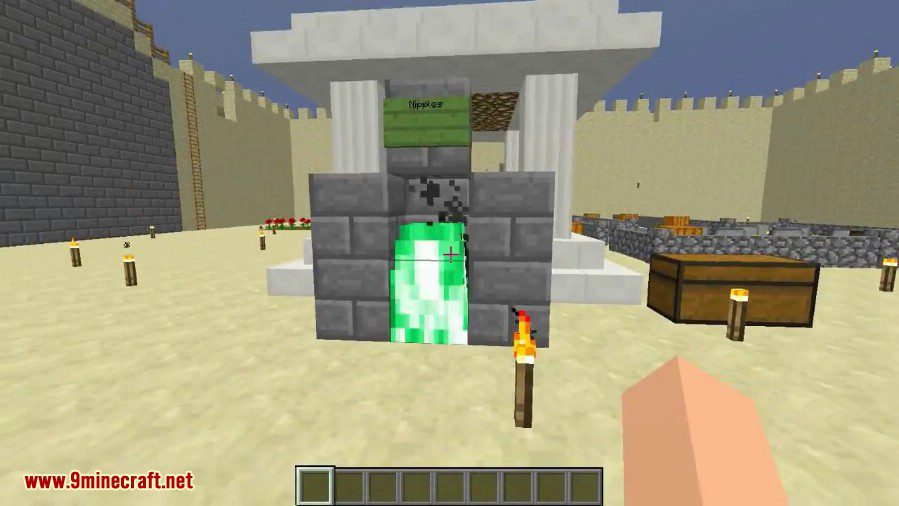
The Trade Station:
![Universal Coins Mod Tutorial 3]()
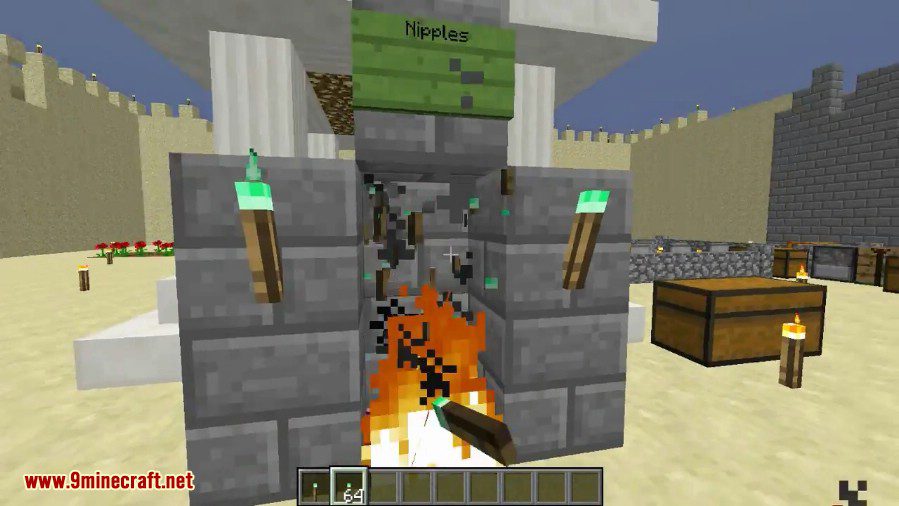
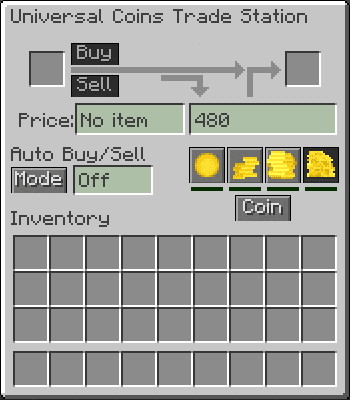
The interface:
![Universal Coins Mod Tutorial 4]()
Selling a block or item is done by sticking it in the upper left slot. The Buy and Sell buttons will activate if the item has a price set in the config files. By default, clicking sell will sell one item. Shift+Click on the sell button will sell the entire stack of the item. Selling damaged armor, tools, or weapons will return a portion of the item price displayed. Enchanted items cannot be sold.
Buying a block or item is similar. Just click, or shift+click the buy button to get one or one stack respectively. If an enchanted item is placed in the input slot, buying a new item will return a new item without enchantments.
The auto buy and sell modes are selected by clicking on the “Mode” button. Be careful when putting items into the Trade Station, if the current mode is “Sell”, it will sell all of what you put in without remorse. Always check the mode. Especially if you have other players messing with things. If this is disabled in the main config, the area this would normally be will be blank.
![Universal Coins Mod Tutorial 5]()
Vending Blocks
![Universal Coins Mod Tutorial 6]()
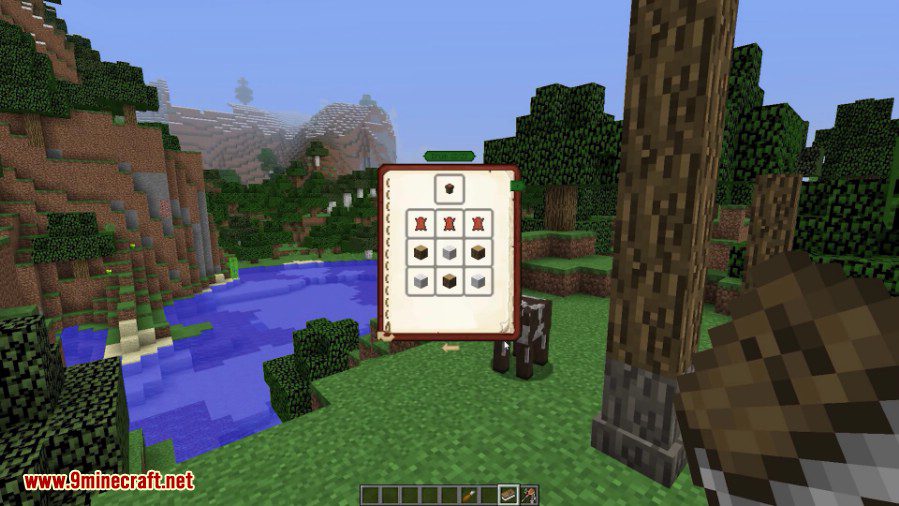
Crafting recipe for stone vending block. There are 16 different types of vending blocks that can be crafted by replacing the item in the lower left and lower right slot of the crafting table. Use NEI to see all the recipes.
![Universal Coins Mod Tutorial 7]()
Vending blocks allow a player to sell items for any price they want. When a vending block is placed in the world, the player that places it becomes the owner. Right clicking the block will open the owner GUI. This GUI allows the owner to set the item sold and price. There are 9 slots to fill with inventory to be sold. A sample of the item to be sold is placed in the upper left slot of the GUI. The item in this slot will not be sold. It is just there to identify what is being sold.
![Universal Coins Mod Tutorial 8]()
If another player right clicks on the vending block, they will see the buyer GUI. The buy button will be disabled if there isn’t enough coins inserted, the vending block is out of inventory, or the output slot is full.
![Universal Coins Mod Tutorial 9]()
To move a vending block that you own, right click with a wrench while holding down shift. You cannot move a vending block if you don’t own it. Vending blocks are not breakable.
Vending Wrench
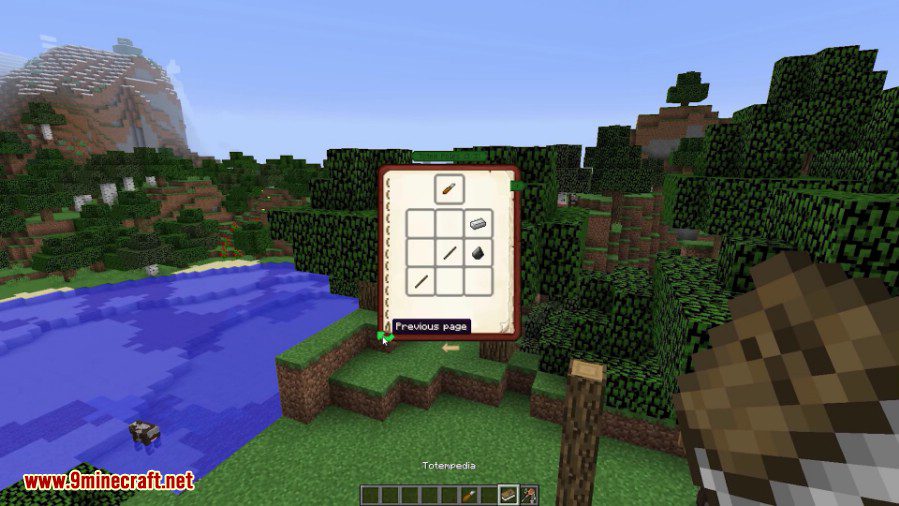
![Universal Coins Mod Tutorial 10]()
This is a special wrench for admins or OPs. It is not craftable. Opening the vending block GUI with this wrench by right clicking. The wrench GUI allows a player to change block owners or enable of disable the infinite mode. With infinite enabled, inventory is not used. The vending block will still collect the buyer’s coins unless disabled in the main config file.
Requires:
Minecraft Forge
How to install:
- Make sure you have already installed Minecraft Forge.
- Locate the minecraft application folder.
- On windows open Run from the start menu, type %appdata% and click Run.
- On mac open finder, hold down ALT and click Go then Library in the top menu bar. Open the folder Application Support and look for Minecraft.
- Place the mod you have just downloaded (.jar file) into the Mods folder.
- When you launch Minecraft and click the mods button you should now see the mod is installed.
Universal Coins Mod 1.10.2/1.7.10 Download Links:
For Minecraft 1.5.2
Download from Server 1
For Minecraft 1.6.2
Download from Server 1 – Download from Server 2
For Minecraft 1.6.4
Download from Server 1 – Download from Server 2
For Minecraft 1.7.2
Download from Server 1 – Download from Server 2
For Minecraft 1.7.10
Download from Server 1 – Download from Server 2
For Minecraft 1.8.0
Download from Server 1 – Download from Server 2
For Minecraft 1.8.9
Download from Server 1 – Download from Server 2
For Minecraft 1.9.4
Download from Server 1 – Download from Server 2
For Minecraft 1.10.2
Download from Server 1 – Download from Server 2
The post Universal Coins Mod 1.10.2/1.7.10 (Buy/Sell Items) appeared first on 9Minecraft | Minecraft Mod.